

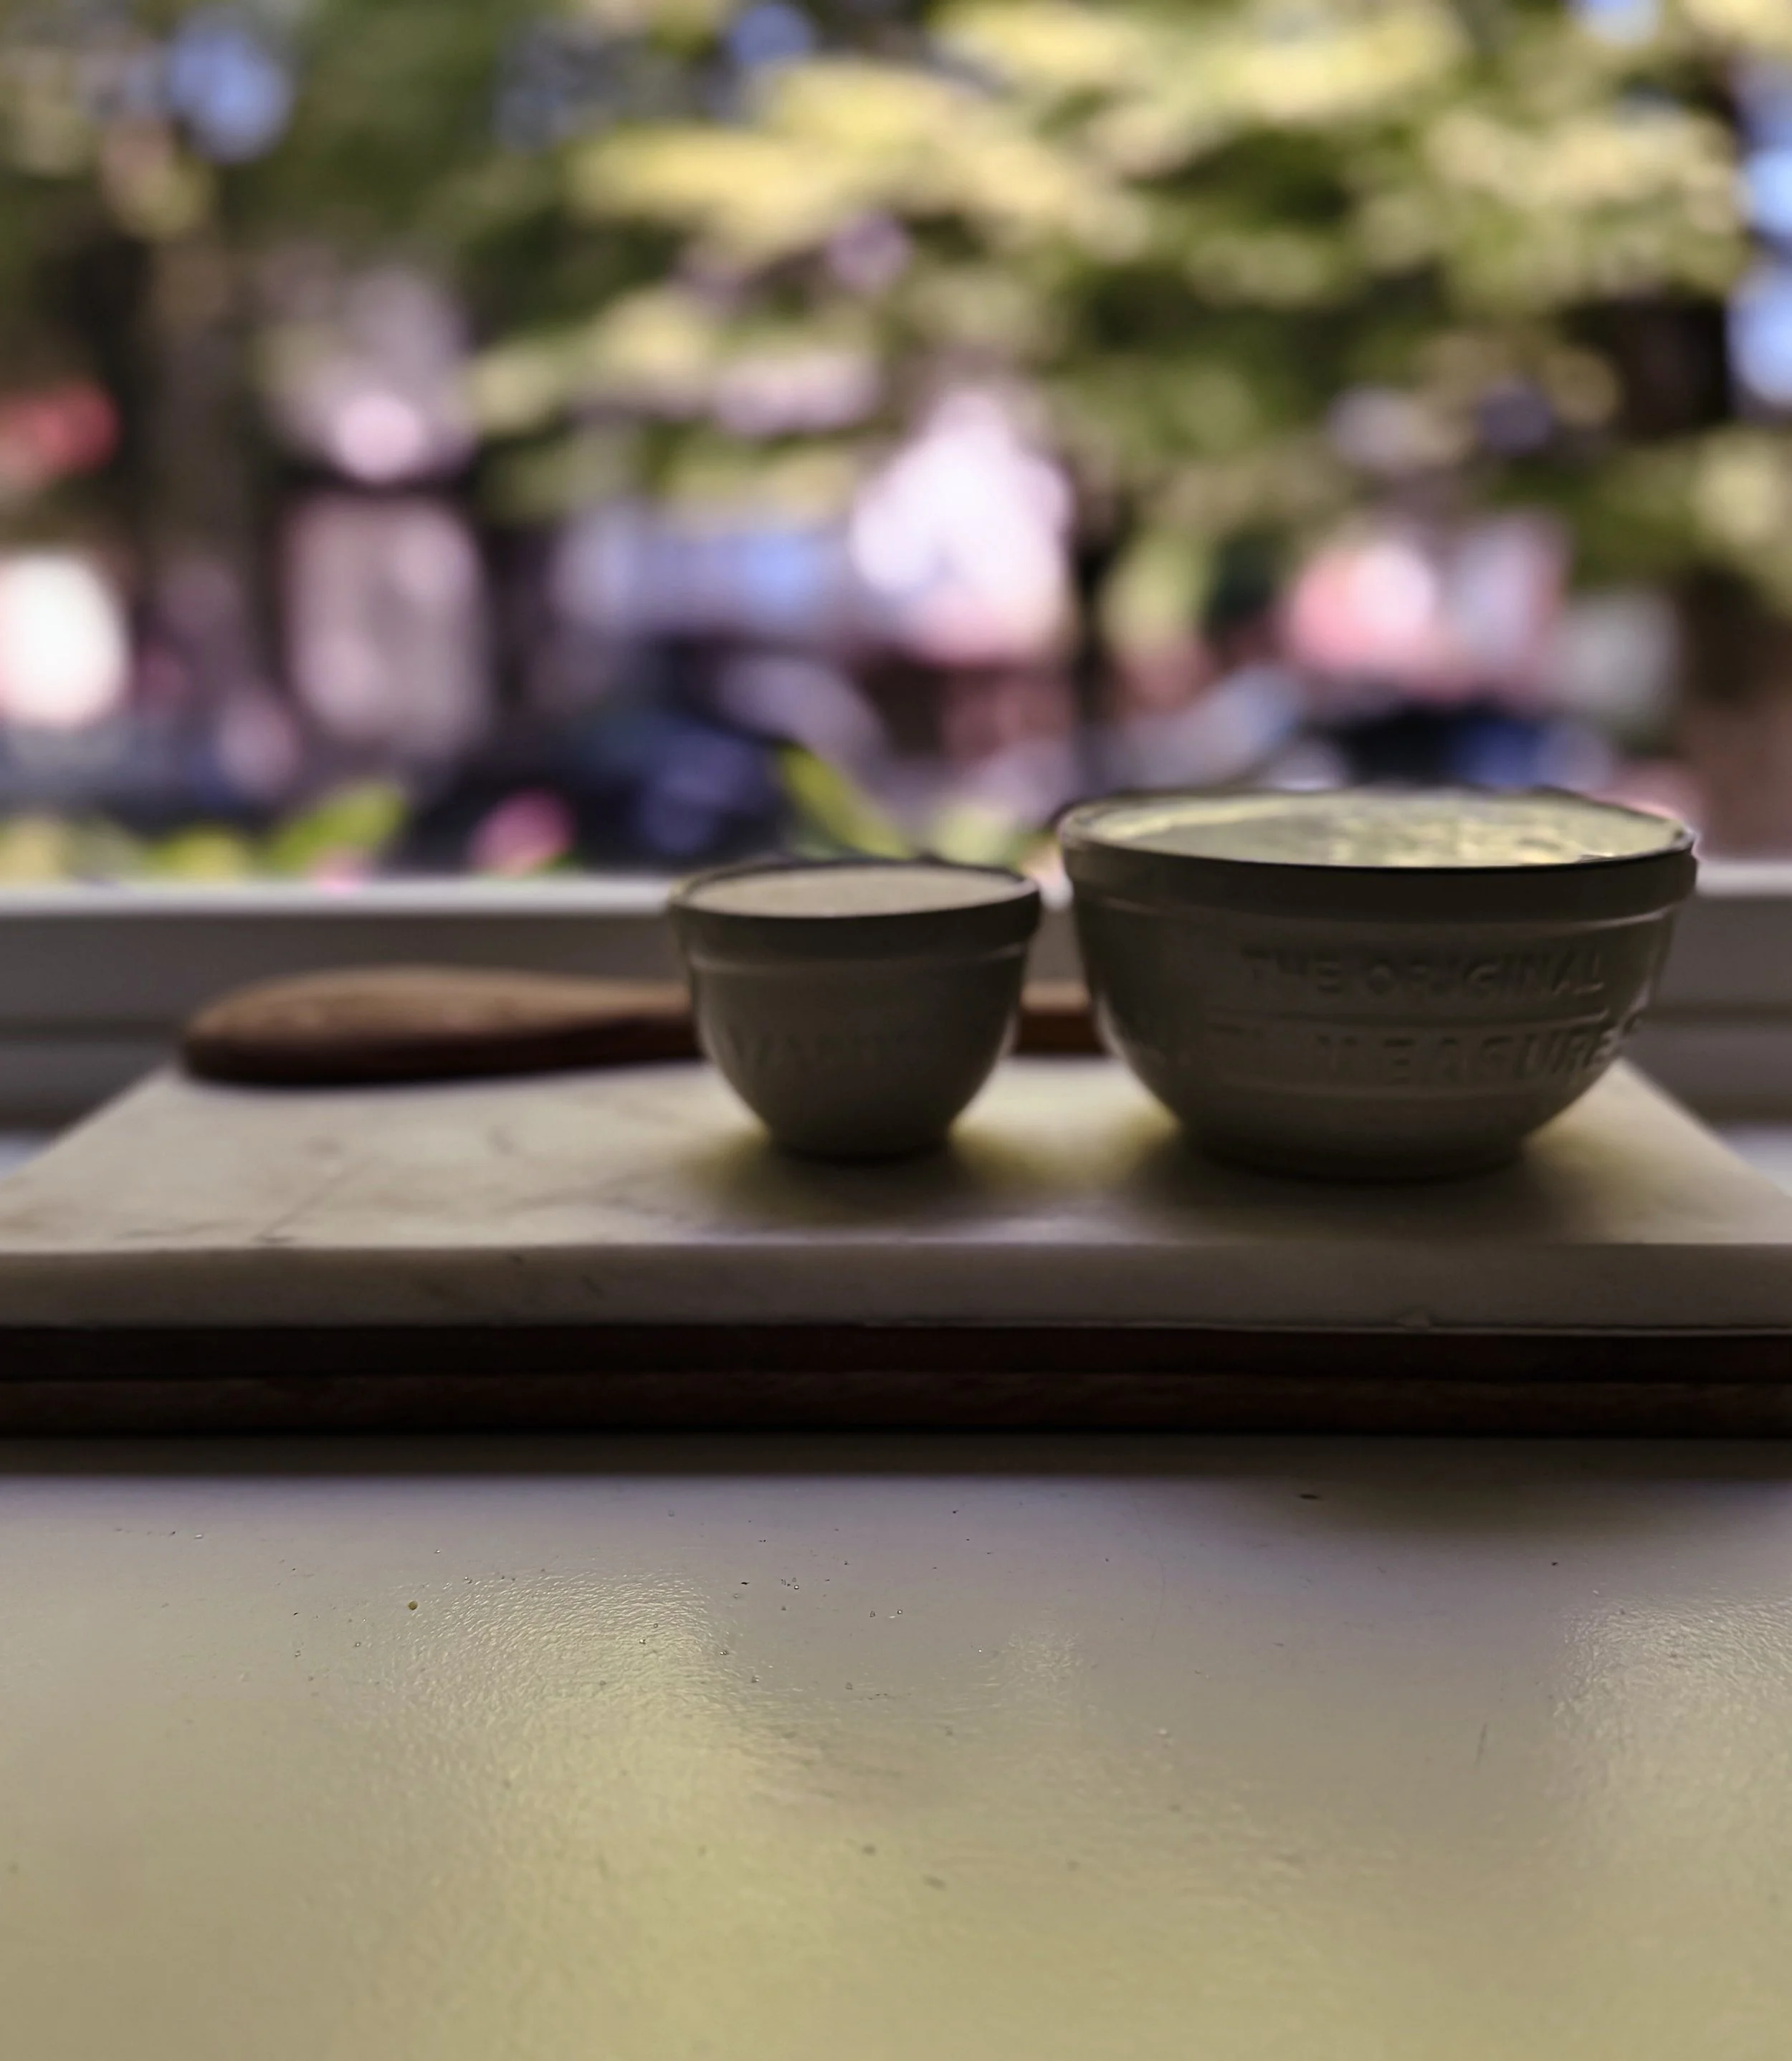
If you’ve been following along with my last few posts, you may have gathered by now (flowers and all) that I’m very much a Summer person at heart. Because of that, I feel like it takes me a little extra time to fully embrace Fall. Thanksgiving weekend is usually what marks that transition for me, and although Canadian Thanksgiving has come a to a close, there’s still plenty of time to celebrate all there is to be thankful for — cozy recipes certainly being one of them. And for my American friends, I suppose you could consider this post an early start to your Thanksgiving preparations!
Speaking of being prepared, have you ever set out to make a recipe, only to discover it calls for sweetened condensed milk — something you don’t have on hand? While this may be a pantry staple for some, it’s not necessarily an ingredient everyone keeps around. But not to worry! In the time it takes to make a trip to the grocery store and back (traffic permitting), you could be well on your way to making your own sweetened condensed milk at home with just a few simple ingredients you likely already have in your kitchen. And once you try it for yourself, you just might find that it becomes a baking essential.
Note: While the ingredients and overall process are very simple, this recipe still requires time and patience. However (in my humble opinion), good taste is also a requirement, and achieving that means making room for both. With that said, I assure you it’s well worth the wait.
What’s more to love? I can think of a few things . . .
Convenient and versatile
Sweetened condensed milk can be used in everything from desserts and drinks to sauces, and even homemade dulce de leche, making it a valuable addition to your kitchen. It can also simplify your ingredient list in recipes that call for both milk and sugar, since it conveniently combines the two. Making it ahead of time simply adds to the convenience without compromising on quality.
Perfect for last-minute treats
Growing up, my mom often kept sweetened condensed milk within reach, as it made for the perfect “shortcut” to whipping up simple desserts while still delivering on flavour. I think this is especially true when making it yourself, particularly when it comes to quality and overall taste. From DIY pie filling to ice cream à la mode (or ice cream on its own), it truly serves as a wonderful ingredient to have ready when a sweet craving strikes.
A little goes a long way
Because it’s concentrated, a relatively small amount of sweetened condensed milk can add plenty of sweetness and richness to a recipe. Preparing it on the stovetop allows that richness to shine through even more. And while, yes, making it at home still requires patience (as previously mentioned), I like to think the wait is better spent in the kitchen than in line at the grocery store. Plus, the warm, sweet scent that fills the entire house makes it all the more worthwhile.
Note: Homemadesweetened condensed milk can be stored for up to two weeks in the fridge. For longer storage, you can freeze it for up to two months.
Okay, enough sweet talk, let’s get simmering!
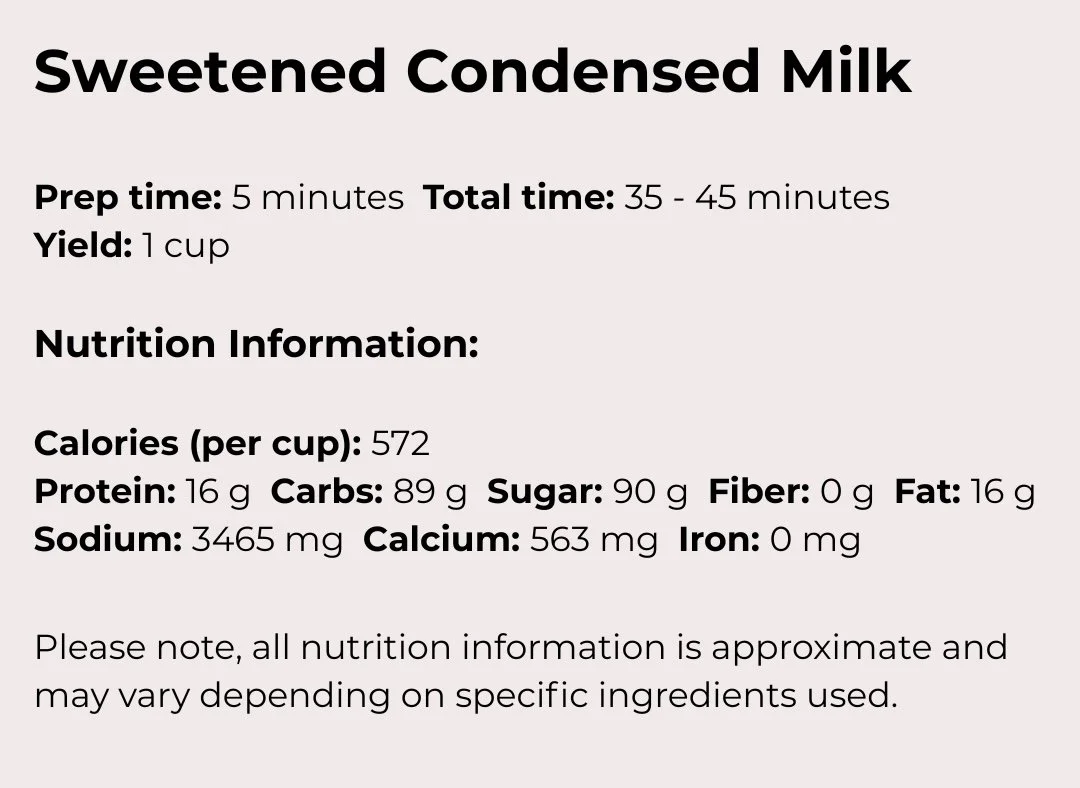
Ingredients:

Directions:
In a medium sauce pan, combine the milk, sugar, and salt. Stir over low heat until the sugar has completely dissolved. Avoid whisking to prevent bubbles from forming.
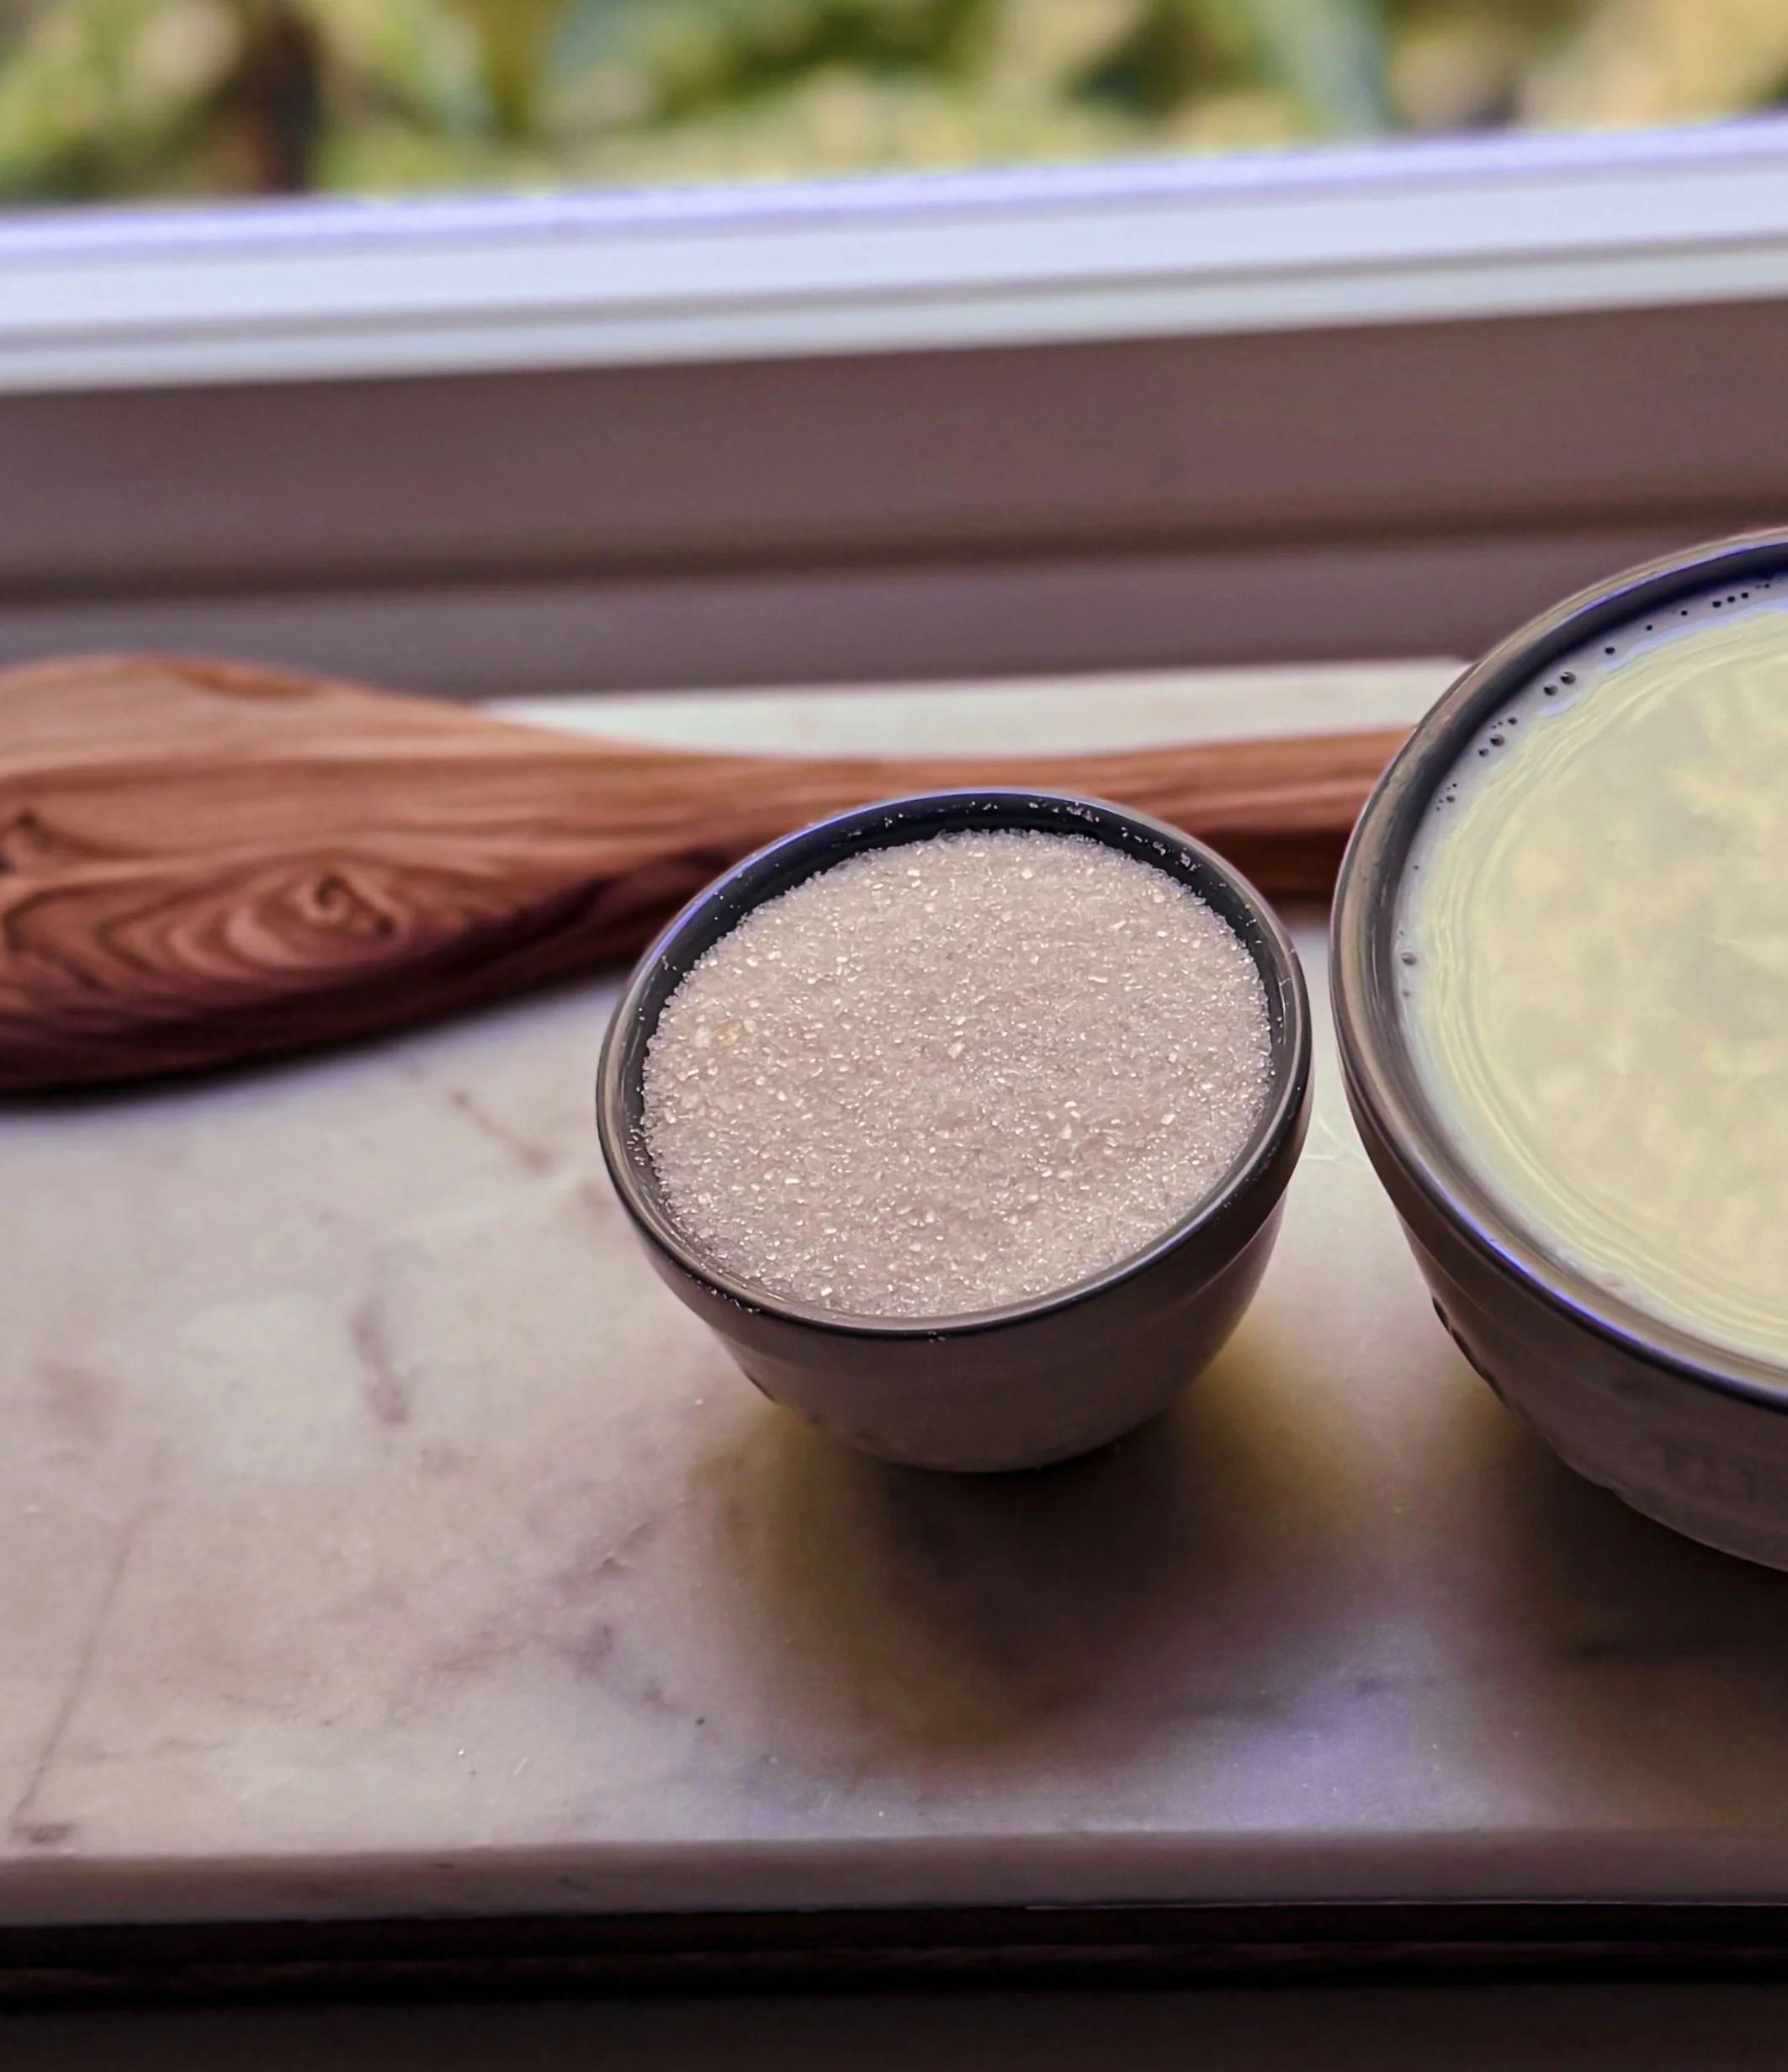
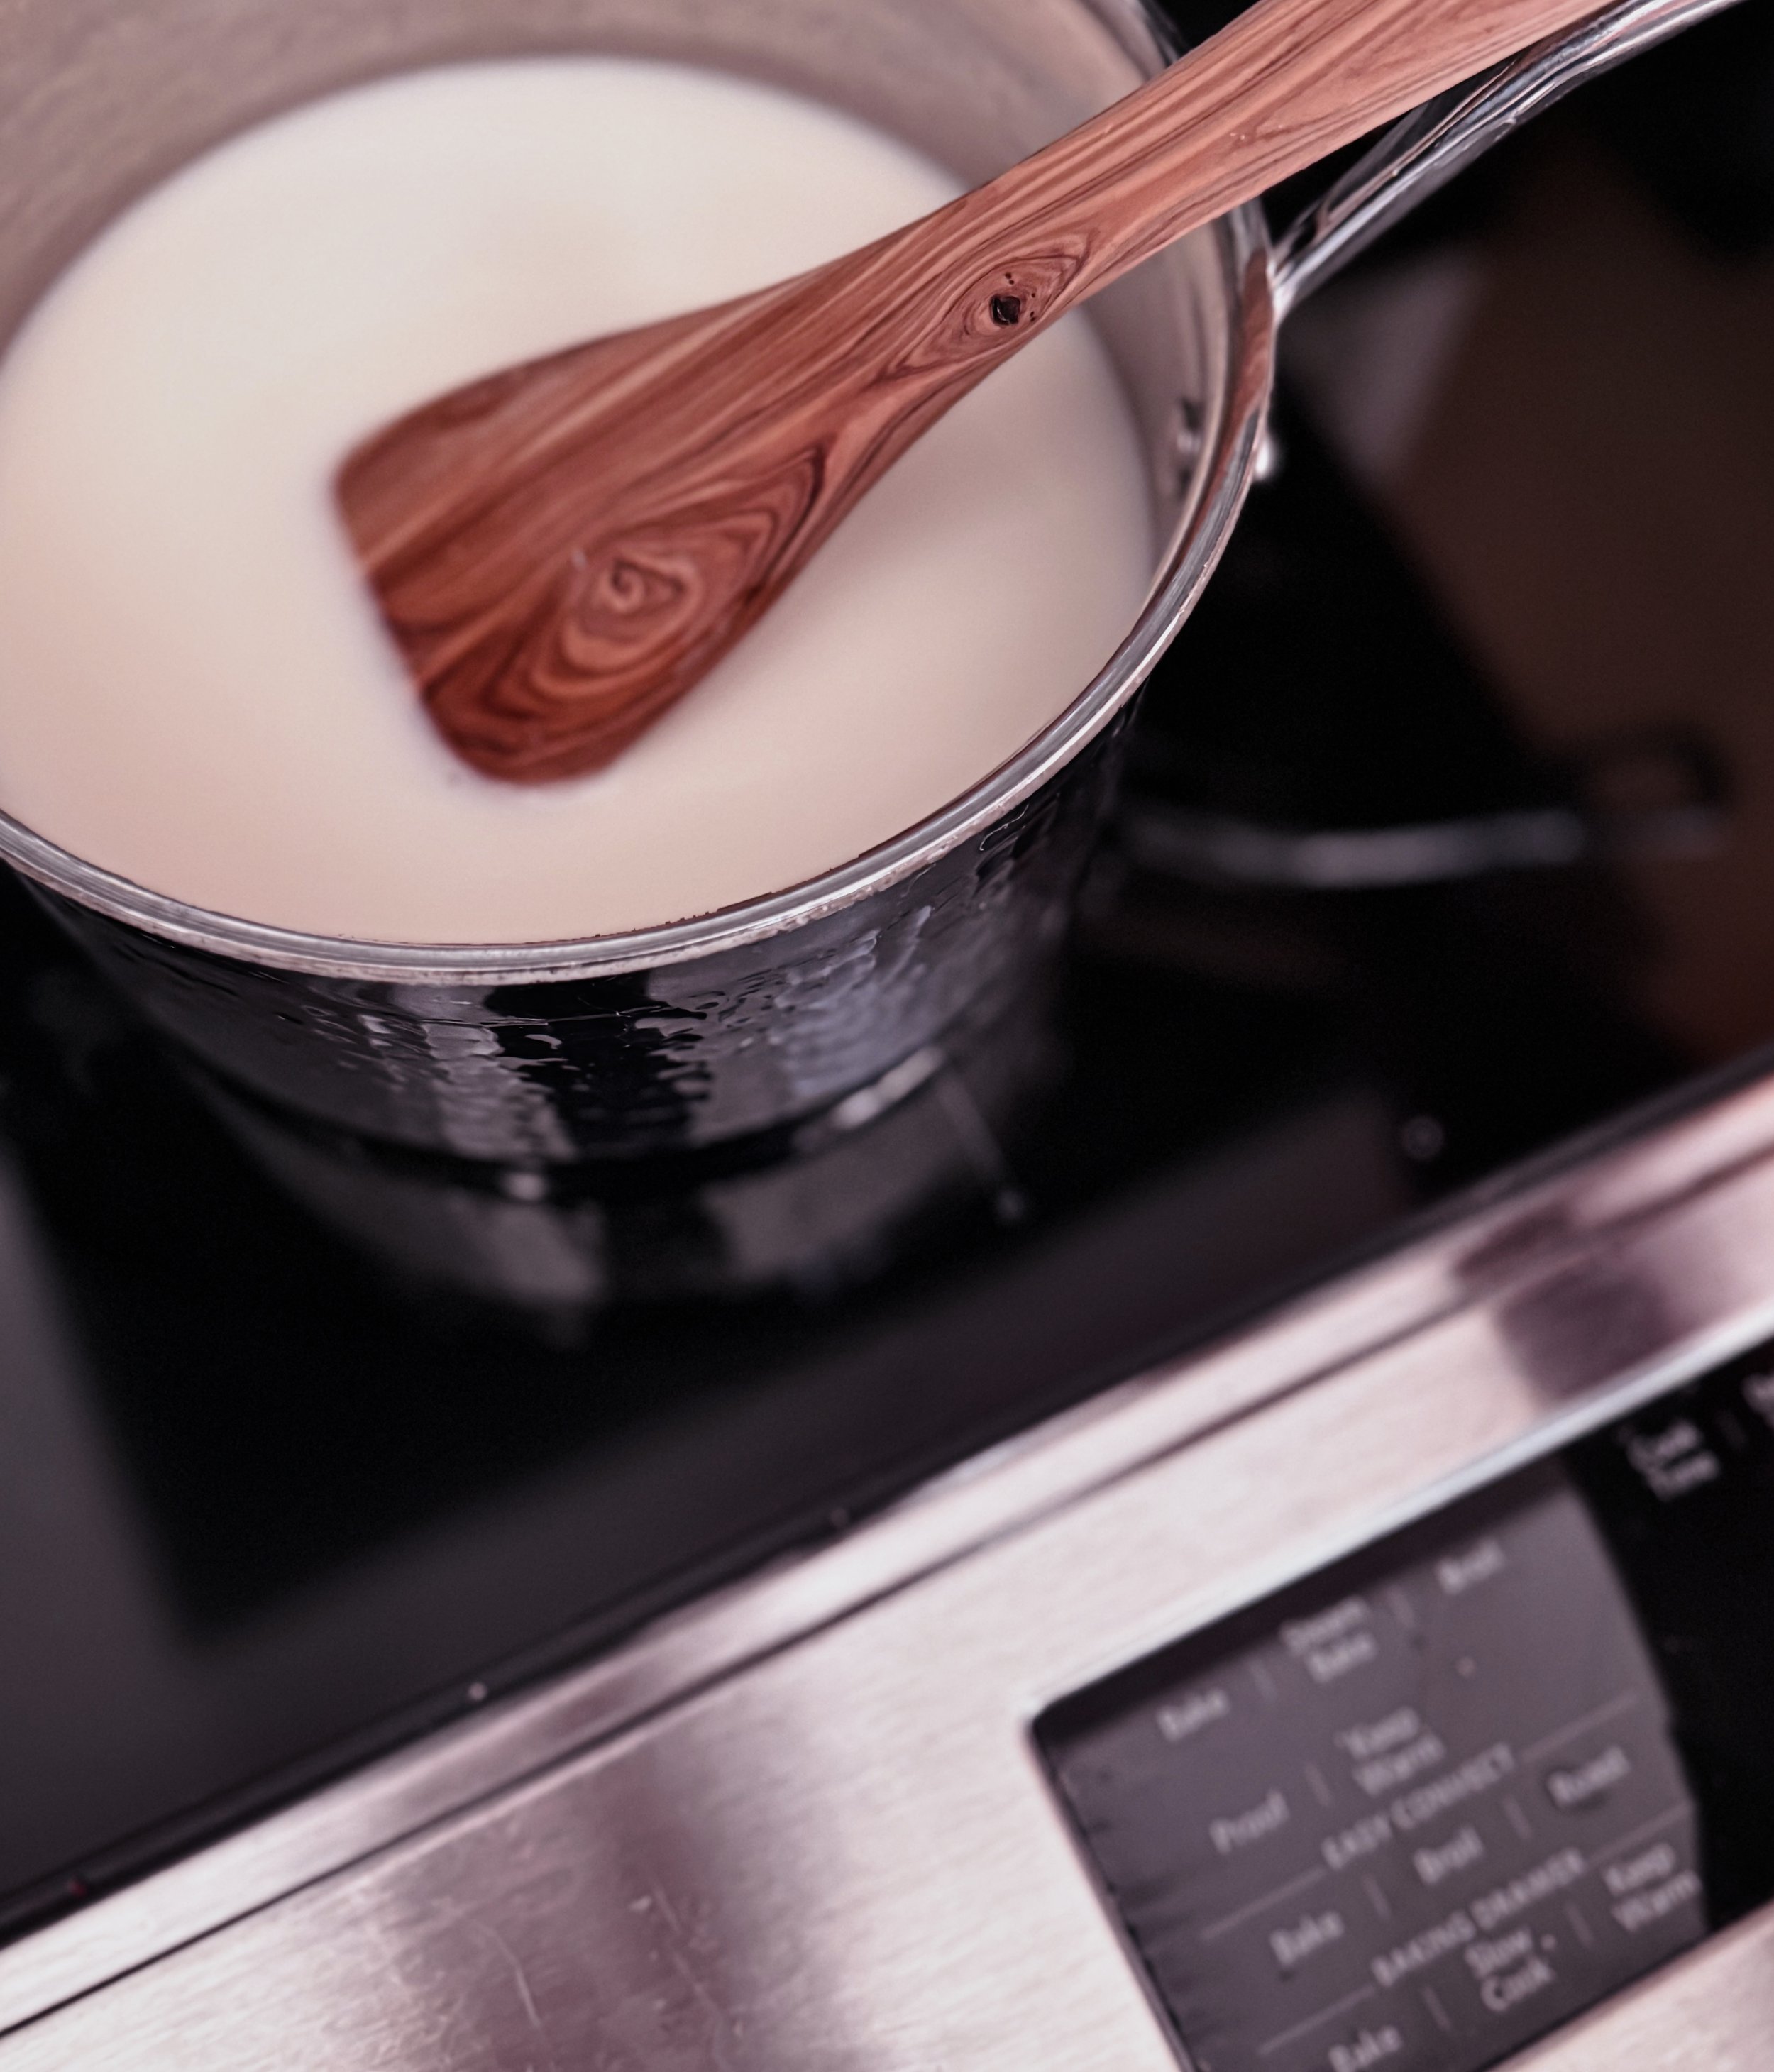
Once the sugar has dissolved, bring the mixture to a gentle simmer over med - low heat. Continue simmering for 30 - 40 minutes, until mixture condenses down and reaches the consistency of a thick syrup. Keep a close eye on the mixture during this time to prevent it from bubbling over, reducing the heat slightly if needed. Also, avoid stirring, as this can cause the mixture to separate or curdle.
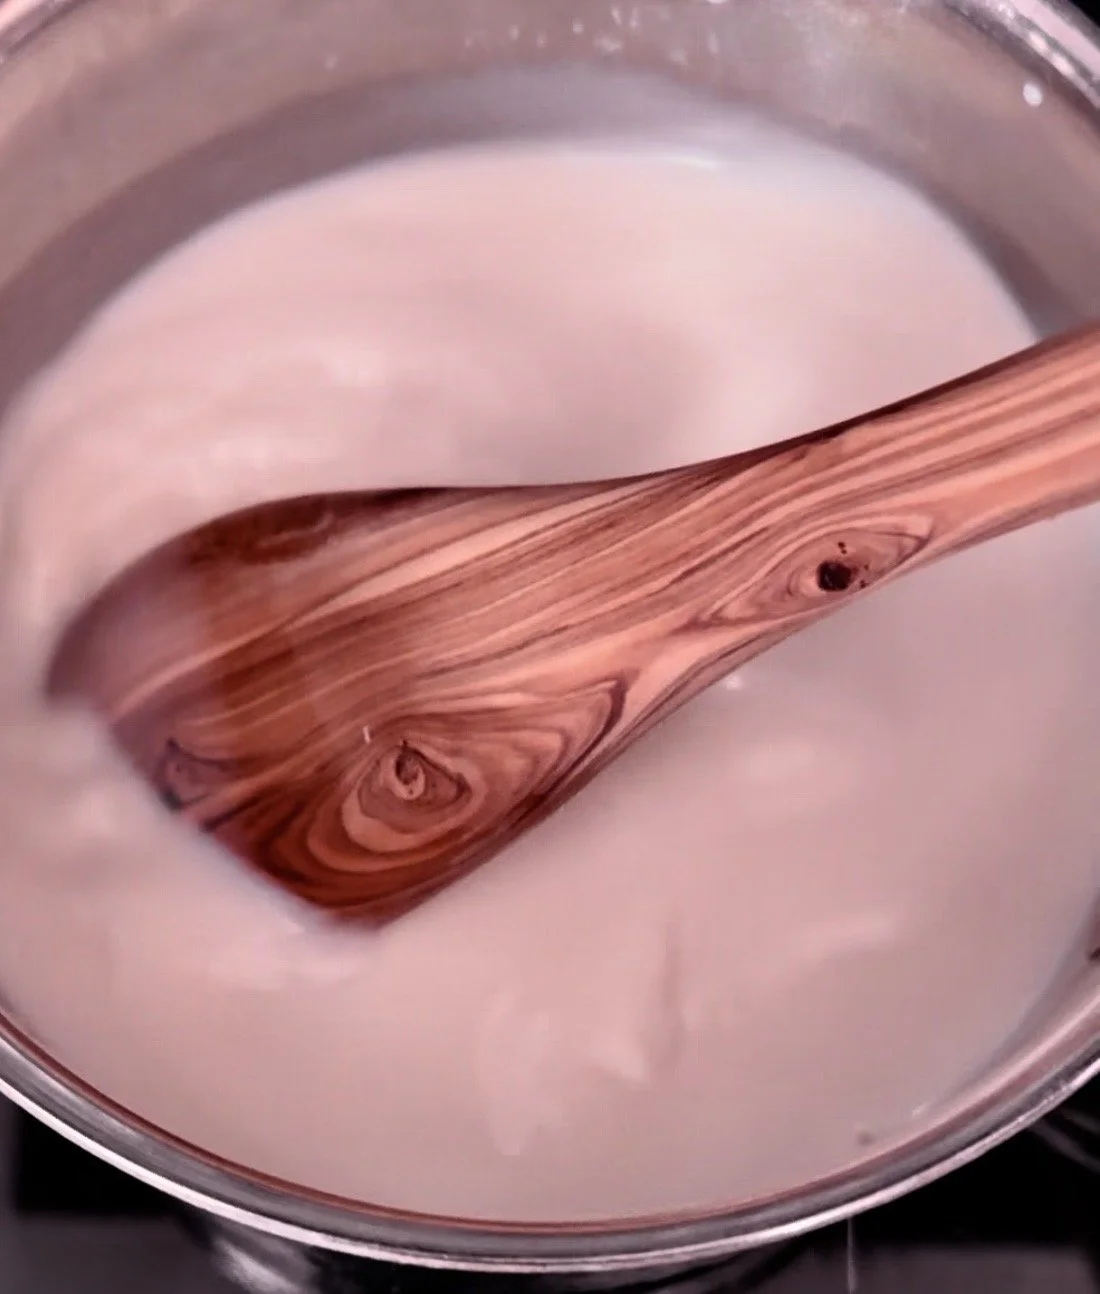

Once simmering is complete, gently stir in the vanilla extract, then shut off the element. Remove from heat and let sit for 10 minutes.


Skim any foam off the surface, then pour the remaining mixture through a sieve into a glass jar (or heat-safe container).
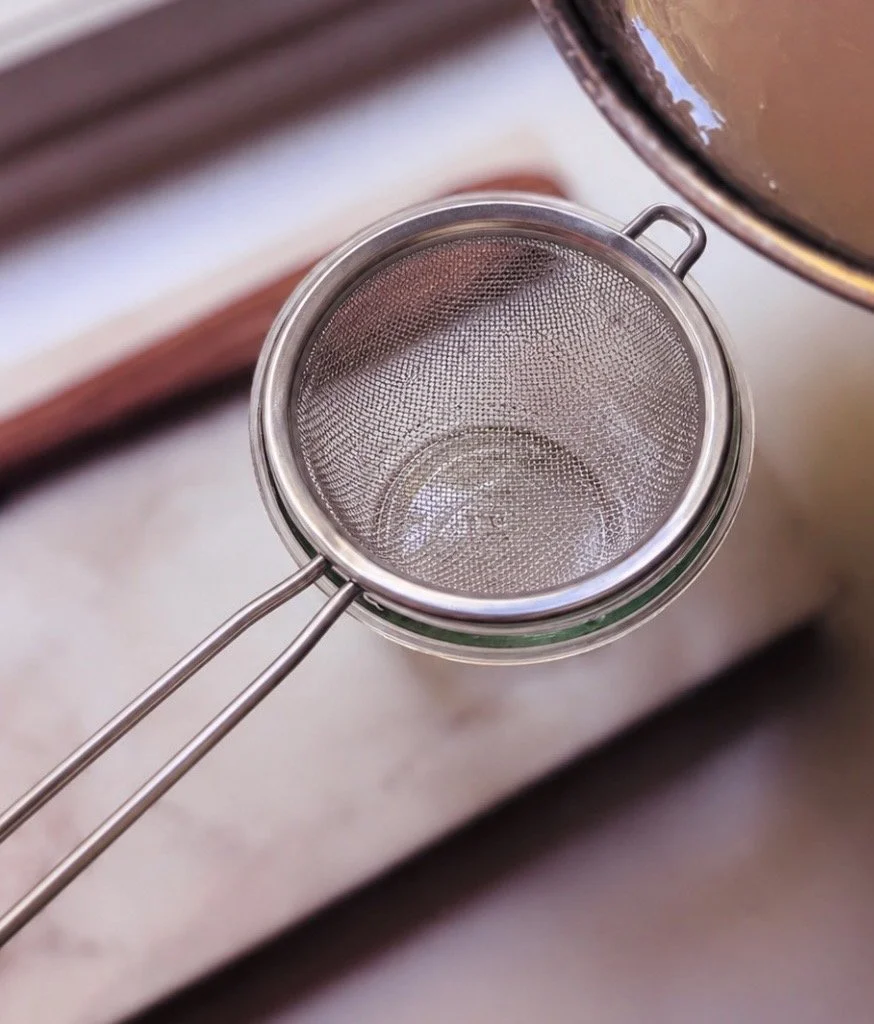
Let the mixture to cool to room temp, then place into the fridge for at least 4 hours (or overnight). This will allow the sweetened condensed milk to thicken further.
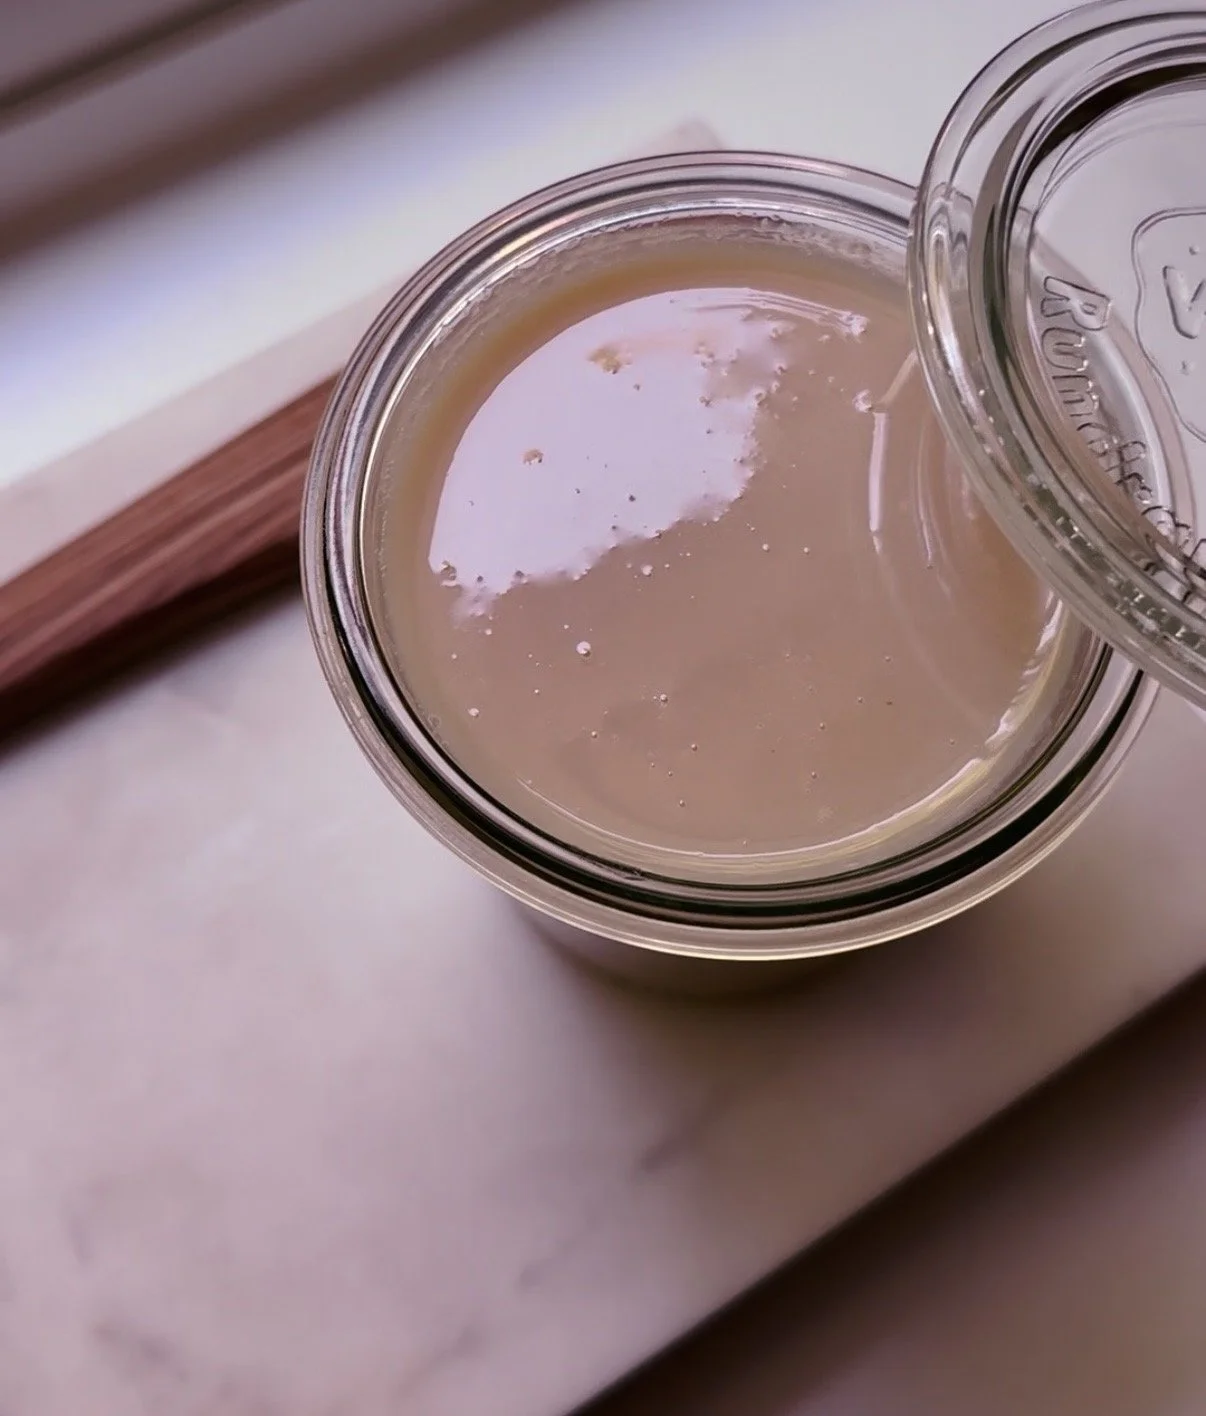
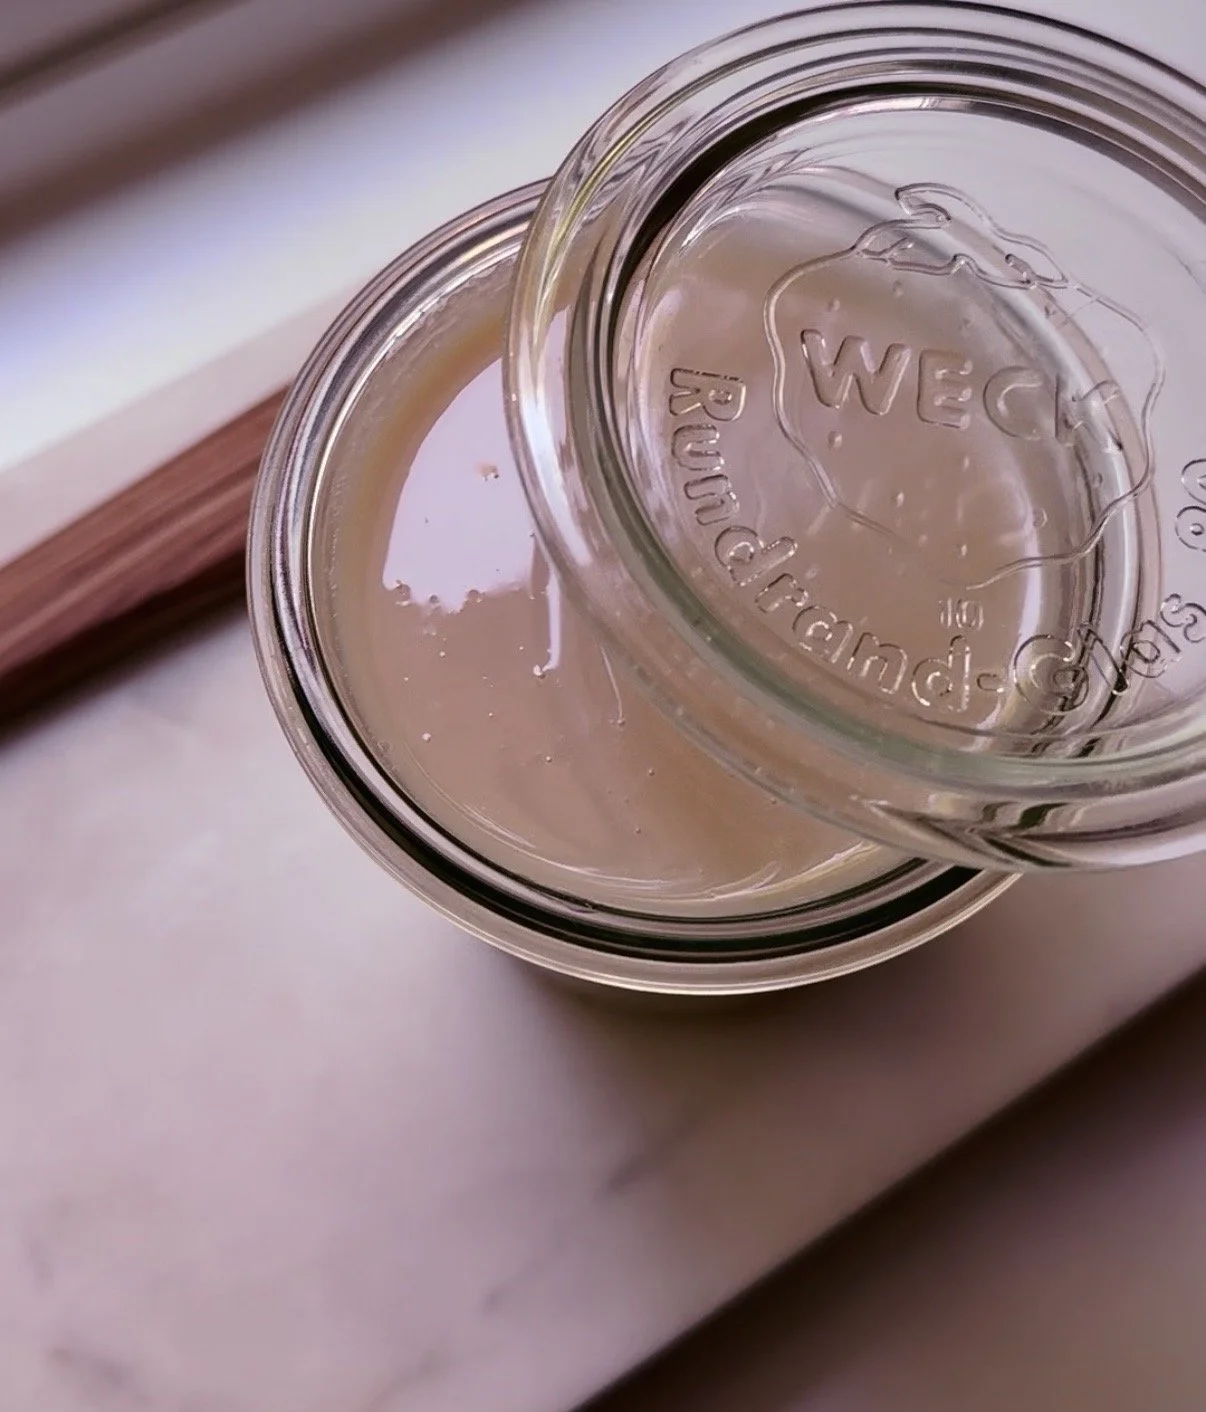
Once chilled, your homemade sweetened condensed milk is ready use.
Each batch makes a total of 1 cup and lasts up to 2 weeks (refrigerated).
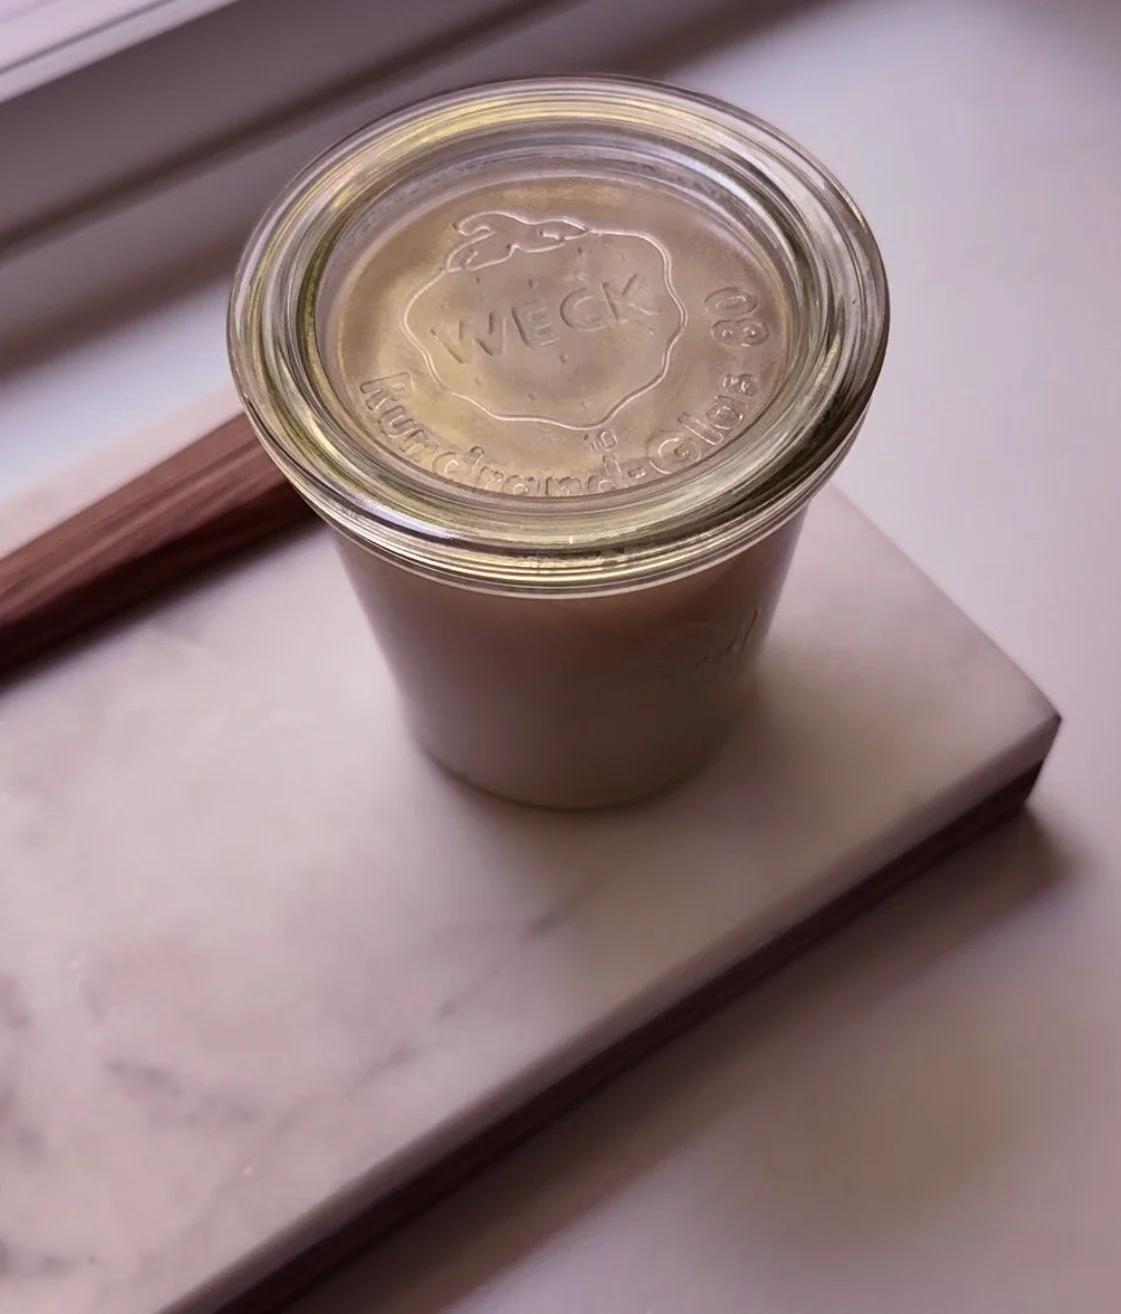
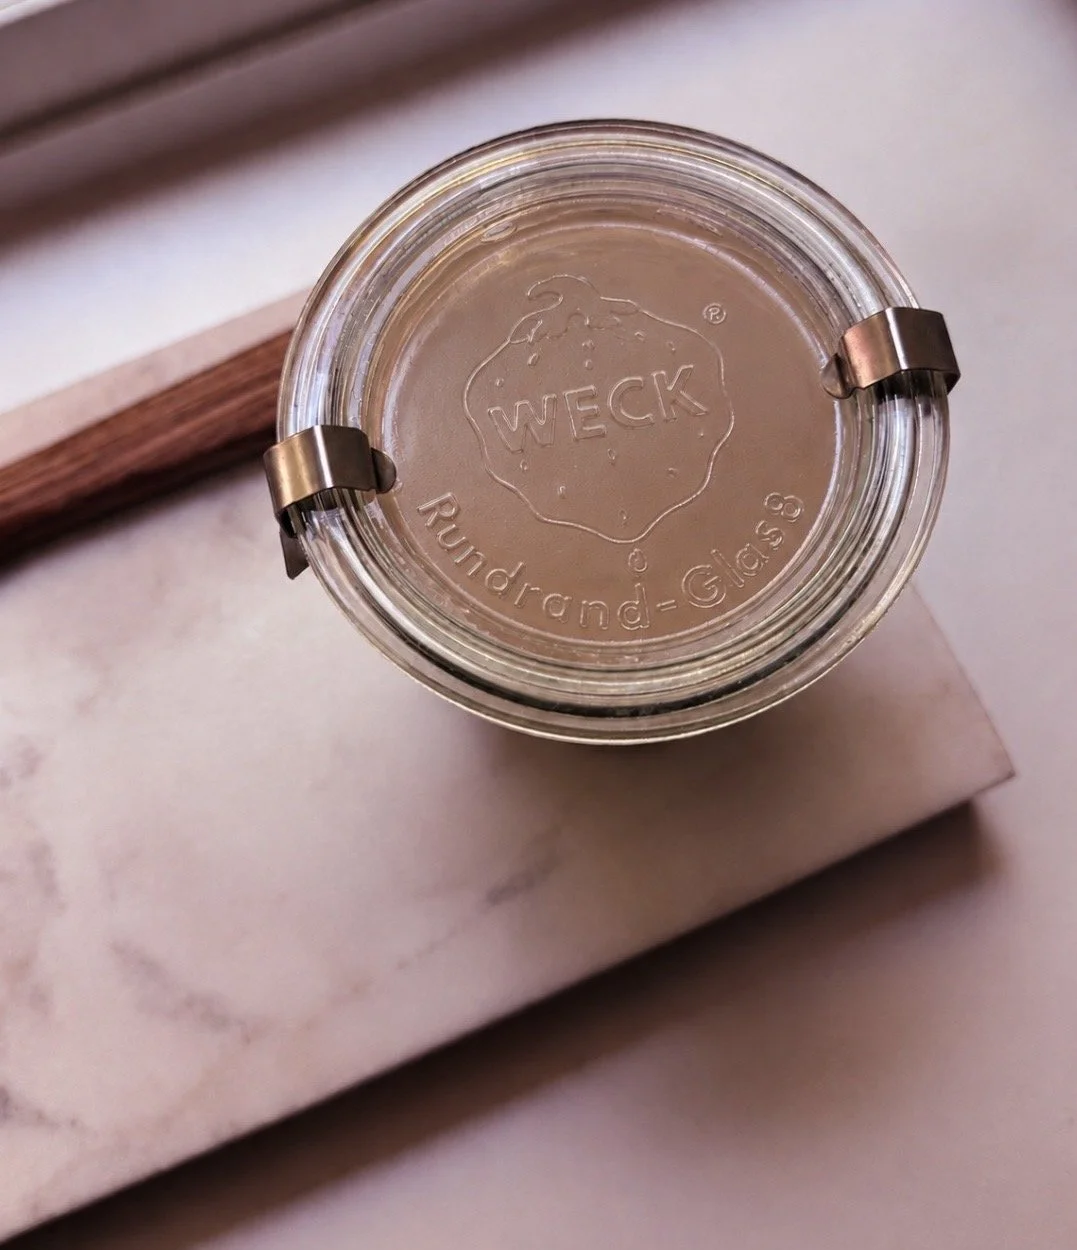
I hope you all enjoy this simple recipe!
Stay tuned for my next post, where I’ll be featuring sweetened condensed milk as one of the main ingredients. Any guesses as to what it might be? Keep an eye on my IG @haveyour.c.a.k.e for a little hint (of something extra sweet). ♡
Xoxo